Saturday, October 30, 2010

Updated dining room table decor!

*Disclaimer*- I am not a great picture taker, and even though I tried to tweak them, I don't think the pictures do justice to my decor here, but you get the idea! I promise the blue colors really do match better than they show up!


I've been tweaking my fall decor a bit!

I already knew I wasn't perfectly happy with this........
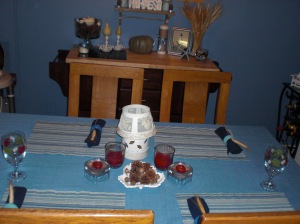

I really only incorprated the red candles because they are my favorite fall scent- apple cinnamon! But they aren't that pretty, nor do they really "match." I threw in the fall goblets that have a bit of the same deep red, to make me feel like it was working......It wasn't!

I was thrilled with my buffet, but not the table or the china hutch!

So I was browsing around on some linky party posts and found this.....


Simcoe Street

Painted white pumpkins with blue candles?? Looooooove! Why didn't I think of using the box of leftover candles from my wedding before now??

I thought I would go find some more pumpkins to paint white.....but I already did that!

Then as I was reading through Jenny's Simcoe Street blog, I found this post where she set her dining room table for a dinner party with her pretty white china and glassware!


*LOVE*

So again I thought, "I have pretty white china! With blue edging!" I'd never considered using it for fall! (Again, I'm sooooo loving this *new to me* concept that fall doesn't have to be about traditional fall colors!!)

So I dusted off some of my hardly used wedding china, added some often used (hehe!) wine glasses (although not as pretty as Jenny's- I wish I'd registered for pretty goblets for my wedding!!), and moved over the pumpkins from the TV stand. (See how I made them here!)

On my TV stand in the living room, they were cute but kinda blah.

But here on the table, they are Taaahh-daaaaaahhh.........
(sorry for the lame rhyming!)


I love my china! I do use it some, but not as much as I should! (Doesn't everyone say that?) I know lots of people don't even register for china anymore, but I knew I wanted some. And I knew exactly what I wanted!


Wedgewood by Vera Wang


I fell in love with this Wedgewood by Vera Wang in Dutchesse Blue immediately! It also matches these adorable Waterford Ballet plates! I'd be displaying those, but I only have 3 :( Can't really blame people for wanting to buy me a whole set of the Blue Dutchesse for $65 versus $35 for one Ballet plate! I must get at least one more!

Waterford Ballet on top of Wedgewood by Vera Wang


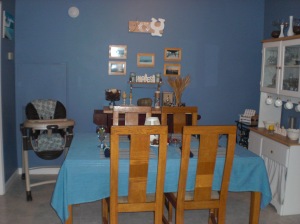
View of the entire dining room (click on any pic for a closer view!)..........


Rearranged the buffet just a teeny bit.......


Moved the candle lamp and leaf plate I painted to the hutch, and added some more candles surrounded by Spanish moss.........


Still not sure I'm loving the hutch, but fall might be over before I'm happy with it! :o)

I also have plans to makeover some of the dining room furniture! The buffet (really an island) was purchased for our last home that had cherry cabinets, and it matched perfectly! Now, it doesn't really match and doesn't fit in our current kitchen! I think I'd like to paint it white, but that would be quite an undertaking!

I am also planning to do something to the dining room table! It is my parent's old set that I grew up eating on! It's still pretty good and solid, but I don't love the shade of the wood. I'd love to sand it down and stain it a lighter color to match the china hutch and buffet. I also plan to recover the seats as the cushions are uuuucckkk!

I think this is it for my fall decorating! I may do one more post summarizing it all! Then I have to WAIT until after Thanksgiving to decorate for Christmas!! Accckkk!! I think I may at least have the hubby pull down the boxes soon from the attic so I can at least start on some Christmas projects! We have LOTS of family coming into town this year, and it's Baby Girl's first Christmas, so I want it to be beeeeaaauuuutiiiful!

I am linking up at the following link parties! Check them out for more great inspiration!


Join us Saturdays at tatertotsandjello.com for the weekend wrap up party!


HookingupwithHoH


Friday, October 29, 2010

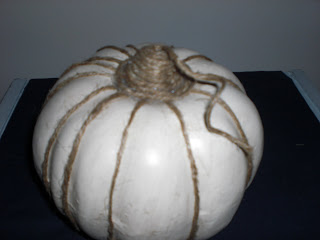
Shanty Pumpkins!

This was one of the first projects I found in blog-land that I decided to re-create!

Ashley of Shanty2Chic made these adorable pumpkins!


As soon as I saw these, I knew that I was in trouble- the crafty bug had bitten me!

I immediately started searching for other ways to decorate with non-traditional fall colors and came up with some of the other decor you have already seen!

For this project, I already had smaller pumpkins and gourds on hand that I had used before, but never really liked.

Here's a before picture of the little ones- I forgot to take a pic of the big one that I got from the Dollar Tree. It wasn't nearly as ugly, but I'm not an orange fan!


Ewwwwy!
So. Ugly.

I pretty much exactly followed Ashley's Tutorial, so check out her post if you want to know how to do these!

I used exactly what she suggests- Rustoleum's Heirloom White Spray Paint and Ralph Lauren Faux Technique Glaze (that I got tinted in "smoke") from Home Depot, and jute twine from Hobby Lobby.

This project would have been pretty cheap, except that the Ralph cost me at least $15! But I used such a teeeeny amount, that it will be good for many, many, many projects to come! The jute twine was $2.99, then I used a 40% off coupon. I've already used it on another project and have tons left. The spray paint was just under $4, and I already used it up plus more on the many other things I've painted Heirloom White. And the pumpkins cost $1 since I already had the small ones!

Here's how they turned out!


I totally forgot to bookmark the blog where I saw someone else wrap the jute around the middle of the pear-ish shaped gourds! I'd intended to just wrap the stem of those until I saw someone else wrap the centers like I did above. If I come across the blog again, I'll link it up- or if it was you- let me know!!

I thought the big one looked cute with the little "tail," kind of like some of the vine was still attached, so I just left it there!

At first I had them on my TV stand in the living room but then I got inspiration from another blog I've just started reading. The above pictures I just took in a random spot near my computer so that I don't give my next post away yet!

More to come on where they ended up!

Monday, October 18, 2010

Moving!

I'm switching the blog from Wordpress to Blogger, so that I can link up my two blogs better, make a better template, and so that I can do things like advertise my upcoming etsy shop, etc.

Looks like the move will be smooth, but I'll be switching this around as I play with layouts etc!

Old blog addy: http://daisysfavoritethings.wordpress.com

New blog addy: http://daisysfavoritethings.blogspot.com

As a result, you'll see the same posts for now on BOTH blogs until I get things running smoothly! Then you'll only see a moved link on the old one and new stuff on the new blog!

Decorating for Fall with Heirloom White!

After seeing all the lovely projects the girls at Shanty2Chic have done using Rustoleum's Heirloom White Spray Paint. I just had to check it out for myself! I'm more of a bright white gal, but I thought that the softer Heirloom White would be a great touch to add to my fall decor!

I also purchased some Ralph Lauren Glaze (tinted in Smoke) from Home Depot, as the Shanty girl's suggest! (I also found that the Rustoleum spray paint is cheaper there than at Hobby Lobby- unless you have a coupon!- and Walmart)I had lots of fall decor that was ugly orange, yellow, brown and green. Well, ugly to me since I'm not a fan of traditional fall colors! They can be great in other people's houses- just not mine!

Here's some before pics of the stuff I painted with Heirloom White!


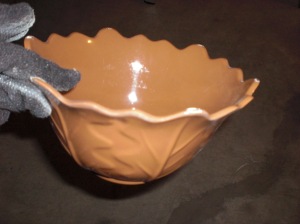
Cheapo looking plastic bowls


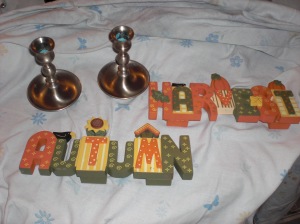
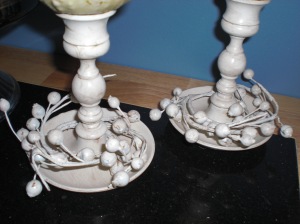
Silver candle sticks (don't worry- not real silver!)
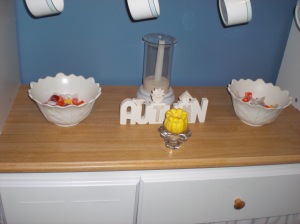
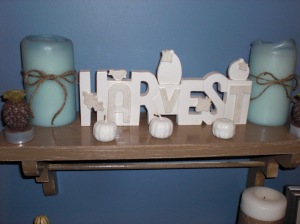
Cute but not my style Autumn and Harvest signs


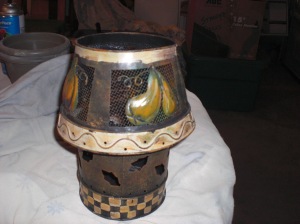
Candle lamp my mom gave me a few years ago


I also painted a ceramic plate that was really ugly orange and green, some beaded candle garland and some mini pumpkins that I did not take before pics of!


Here are the after pics!


Much less cheapo looking "candy" bowls filled with candy
that doesn't tempt us, but does tempt guests!
Autumn sign has some of the letters highlighted with Ralph Lauren Glaze.
(I'm still working on tweaking this space, not loving it yet.
I did have tea pots and teacups displayed here.)


Candle sticks and garland painted Heirloom White and brushed with glaze


Plate and candle lamp painted heirloom white, lamp brushed with glaze on the pop outs and trim.


Harvest sign painted Heirloom White and various letters and accents glazed,
mini orange pumpkins painted Heirloom White.


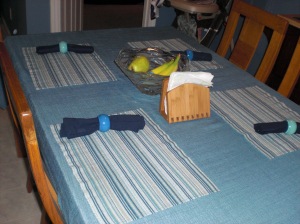
And here's a look at how it all came together in decorating our dining room area for fall!

Before:


After:


Funny that the tablecloth looks aqua! It's really about the same color as the walls!

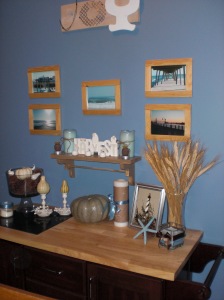
One thing I love about the details here, is a lot of them have meaning-things that were already there or that are newly placed!


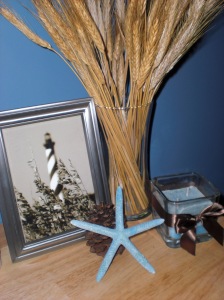
  • The framed pictures are all pictures I took in NC- mostly Wilmington/Wrightsville beach area. One of my favorite places in the world!

  • The shelf was made by my grandfather who passed away many years ago.

  • The Joy sign was made by my sis-in-law and was our Christmas present last year from her and my bro.

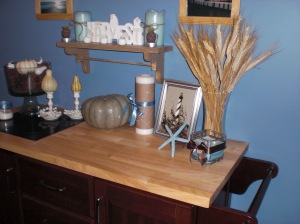
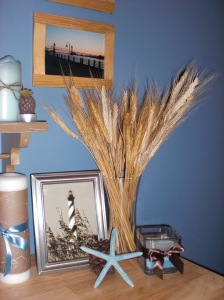
  • The pillar candles and starfish are from our wedding.

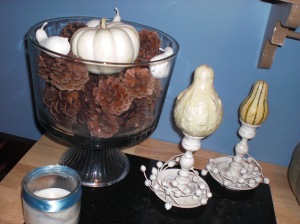
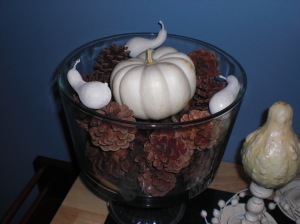
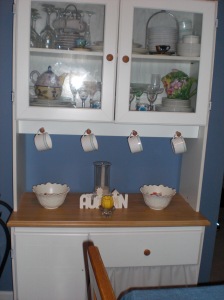
  • The trifle bowl (with pinecones and real white pumpkin), china, and almost everything in the china hutch are wedding presents.

  • The candle on the hutch behind the candy bowls is an antique find that is a replica of a candle holder at the restaurant from our hotel on our honeymoon in Costa Rica.

  • The high chair shows off that we have a new addition in the family! Hehe!

  • The acorns are memories from Baby Girl's first hike last week.

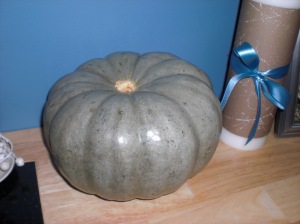
  • The pumpkins are from Baby Girl's first trip to the pumpkin farm!


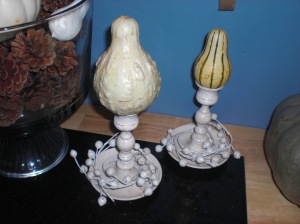
Here's some closer pics to show you those details! You can also click on any of the pics above for a better view!


The other touches I added were the jute around the blue pillar candles, the scrapbook paper and/or ribbon around the candles, the vase of wheat, and wheat stalk stuck in the napkin rings.  Basically the only things that I bought were the pumpkins and gourds (the gourds I got free at the grocery store since I had coupons that "made" me money!), the spray paint, and the glaze, but those were really bought for another project I'll show soon! My mom bought me the wheat at Publix, and it was only $2.99. I "shopped" my house for the ribbon, candles, scrapbook paper, and all the stuff I spray painted I've had for awhile.

This is definitely the happiest I've ever been with my fall decor! I am so happy that I discovered it is actually OK to not decorate in traditional fall colors! :)


I'm sharing my post at these parties! Visit the links below for more great fall decor ideas!


Saturday, October 9, 2010

Wreath Project!

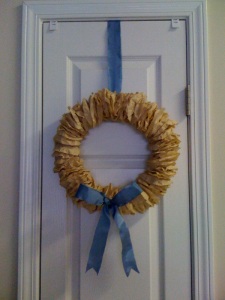
So, I don't know if my take on this is really considered a fall wreath or not, but I'm loving it anyway! I mentioned before that I wanted to make a wreath like this....


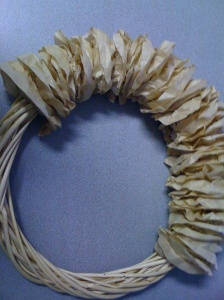
I took Christina's idea for using hot glue instead of floral pins to stick the coffee filters to the wreath, and I also used a different kind of wreath.  My Dollar store was out of foam wreaths, so I used one like this...


As you can see, mine is turning out a little differently! I think because my wreath was skinner? I'm not sure! I didn't go look at Christina's before I started, and just decided to wing it! I'm pretty happy with how it turned out, although I think I would've been happy too if I had done it more like hers, which is much, much fluffier!

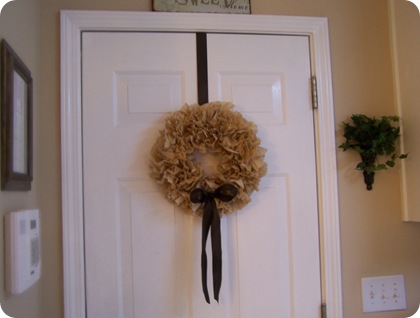
Here is how it turned out! I actually like it better than I thought I would during the process! And looking at how I *should* have done it, I may have liked it better the other way!


But I still like it lots as is! I tied the fabric through one of the loops of the wreath on top, and push-pinned it into the top of the door! Then I hot glued the bow on the bottom! It is hung up on my pantry door, and I love how it fills up big empty space I had no idea what to do with!! The walls on either side of the door are too narrow for much decoration, so it gives that space a little something!

I love how well it matches my kitchen and dining room! I'll post pictures of those soon so  you can see, as I do the rest of my fall projects!

Wednesday, October 6, 2010

Transforming mommy's shelves!

Baby Girl's room Project #1- Paint and add flowers to mommy's old shelves!


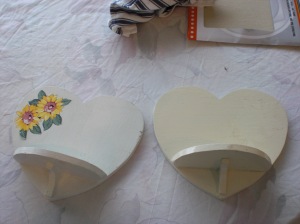
Before:


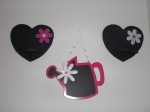
After:


My grandfather loved to make things out of wood. Shelves, animal cutouts, all kinds of things! My mom and I have held onto several of his things, and I have used them throughout my house over the years. I always had some of his shelves in my room growning up as well.


The heart shelves were my favorites!

I knew I somehow wanted to use them in Baby Girl's room, but I didn't get the inspiration on what to do with them until recently!

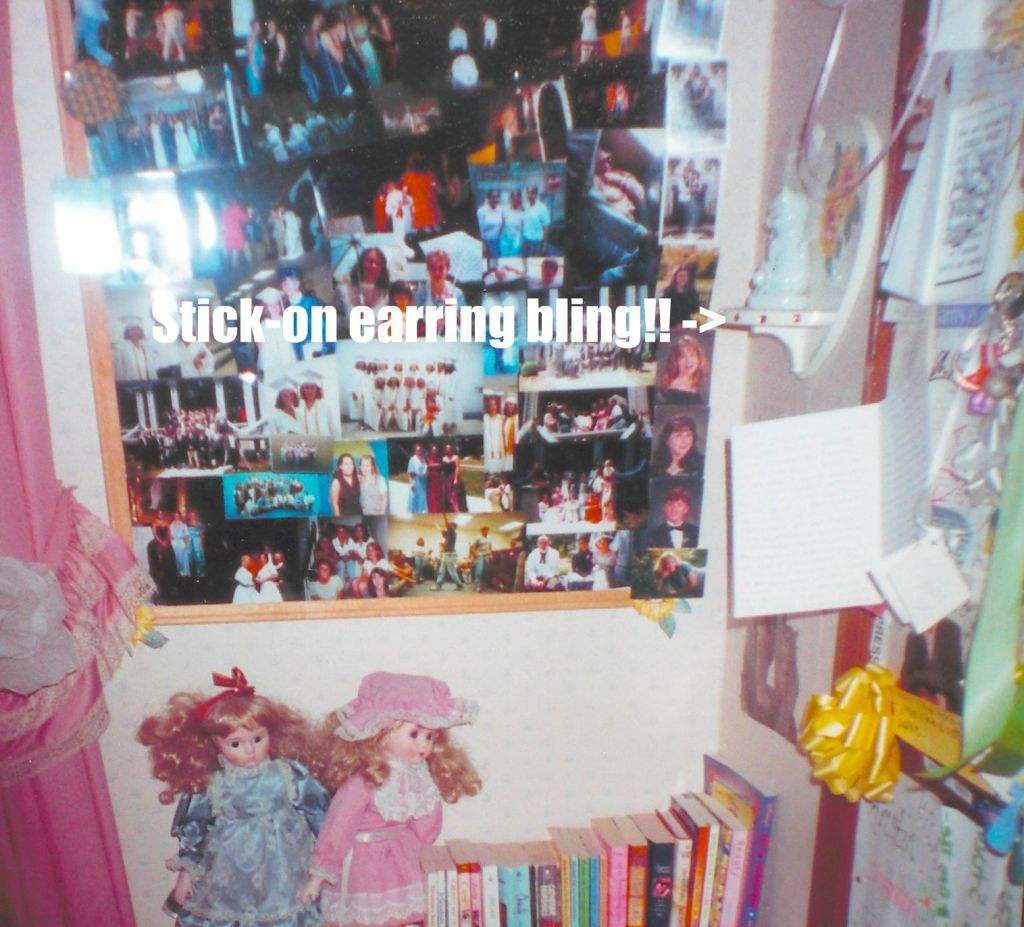
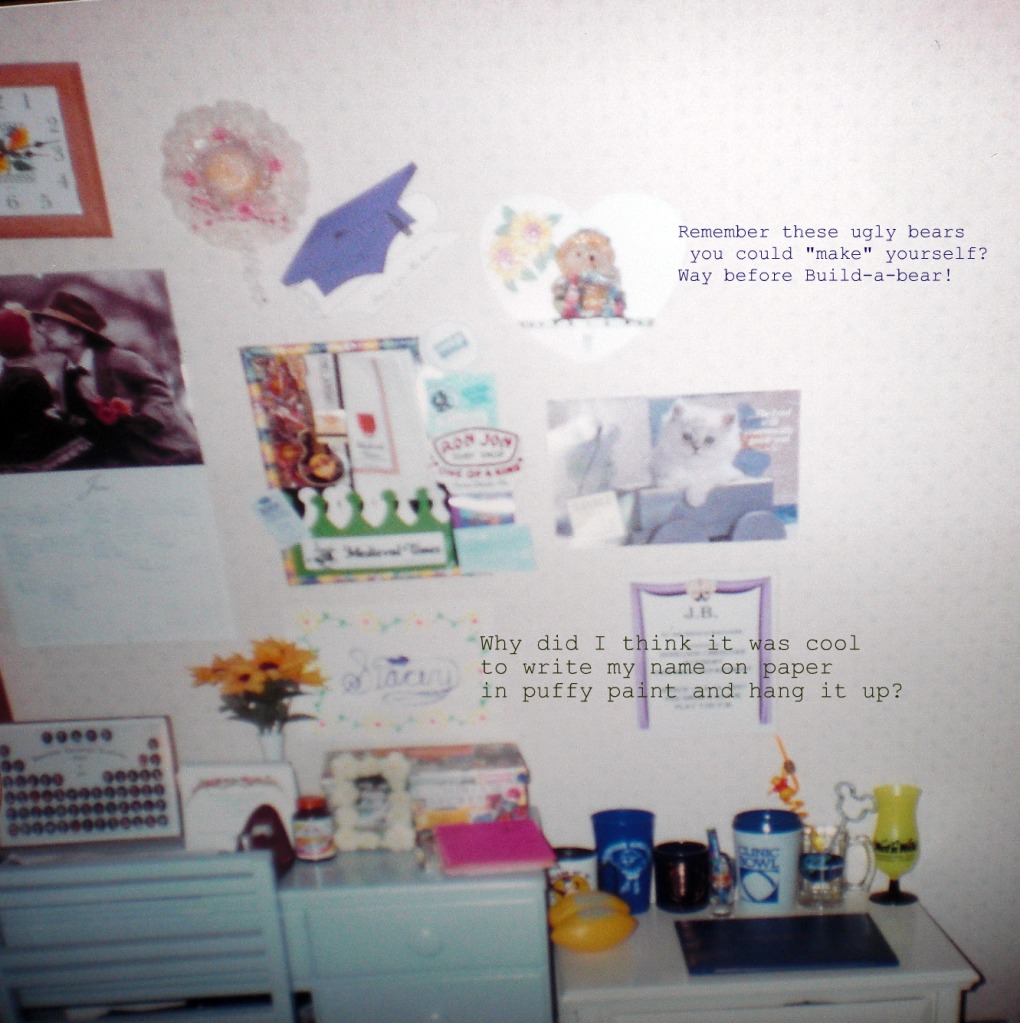
Here's the shelves in my room when I was in highschool! Please don't judge my poor sense of decoration. I was all about things that meant something, little souveniers from areas of my life, even if they didn't go together! And trust me, my room had NO sense of a cohesive theme!


Uhhh, yeah.....my style has changed a lot! Wait...I take it back....I finally got some style! I didn't have it before! However, I was totally happy in my ignorance of style back then! I loved my room!

For Baby Girl's room, I decided to go with painting them black, and using flowers from leftover material from her curtains and bed set to decorate them. Just like I decorated them long ago with sunflowers cut out from the paper that covered my bulletin boards. Lets just say this new idea looks a lot better than the old!

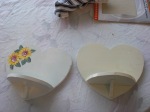
Here's how they started out when I began to transform them! One of them was now lacking the flowers and both were lacking the "bling" from stick-on earrings! (What was I thinking??!!)


Ummm, they aren't even the same color! Please tell me they were when I used them! But I'm guessing they probably weren't!

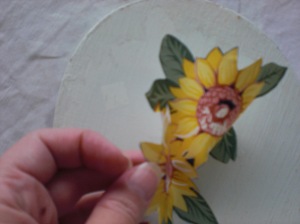
Then I removed the "contact paper" flower!


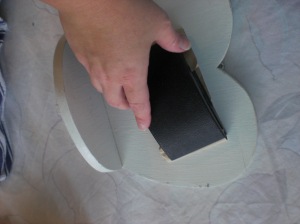
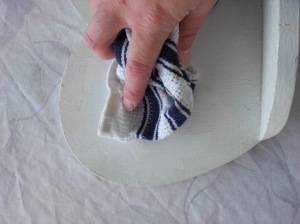
Sanded them a little, and wiped them down


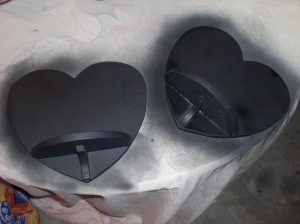
Then sprayed painted them black!


This took some time because the Krylon paint I got kept dripping and I had to wipe it off asap! So did the Krylon primer I had for another project. I think I'm taking them back to Walmart and buying some Rustoleum instead because it's worked perfectly for other projects! I ended up finding an old $.96 can of black spray paint I'd gotten a long time ago and used it instead of the Krylon! Weird how the cheapo one worked better than the one I paid almost $3 for!


Then I let them dry overnight, although they seemed pretty dry only a few minutes later!


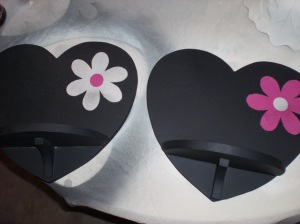
Then I took some leftover material (see her room pics here to see the full effect of the material!, and cut out flowers to apply to the shelves! (So maybe I did have a good idea all those years ago, just not executed as well!)


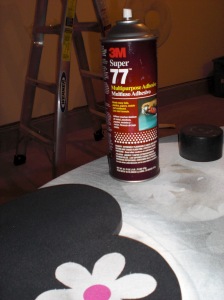
I applied the material with 3M multipurpose adhesive I already had. (No idea why I had it or from where!)


I sprayed the adhesive on the backs of the flowers, then positioned them on the shelves and smoothed them onto them.


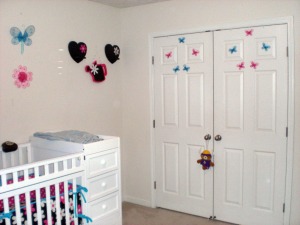
And here they are hung up in her room!


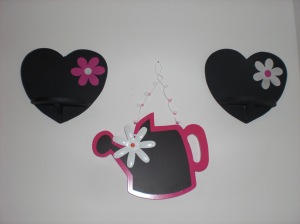
Hard to see the "shelf" part now that they are black! I still have no idea what is going to go on them, but I kinda like them just how they are! They match so well with the flower pot chalkboard from Hobby Lobby! I still need to get a chalkboard marker so I can write on that! Maybe her name or something!


Project #1 for Baby Girl's room- COMPLETE!!

Linking up with Just a Girl's Show and Share day! and Shanty2Chic's I made it without my hubby! Check out lots of amazing projects happening in blog-land!