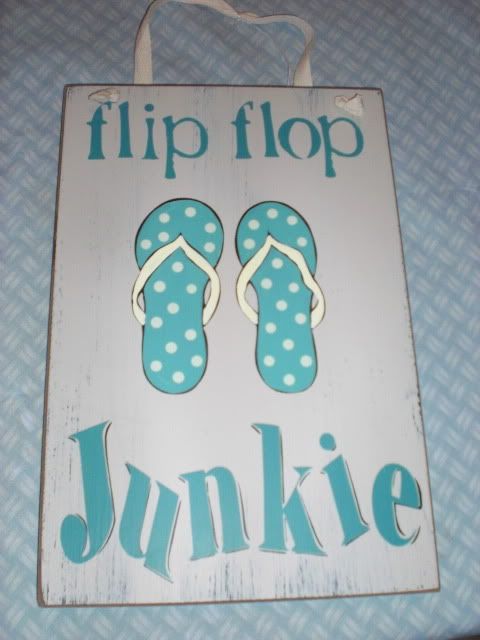
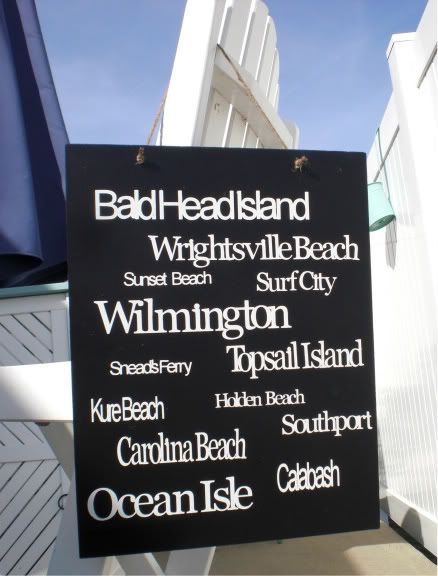
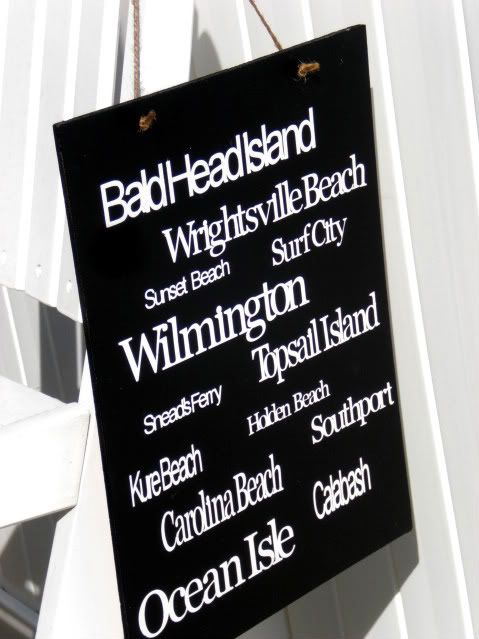
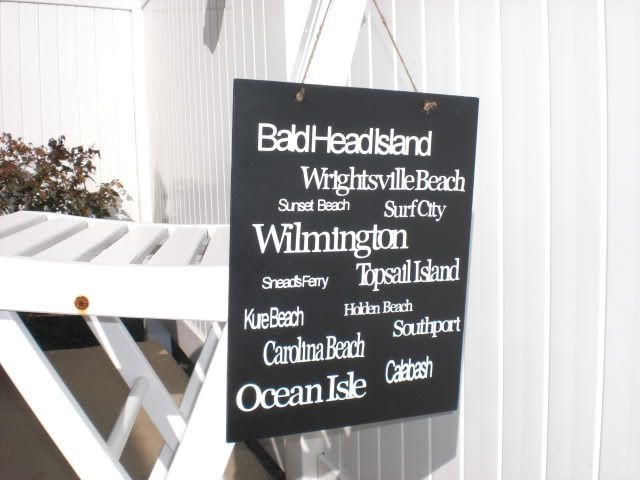
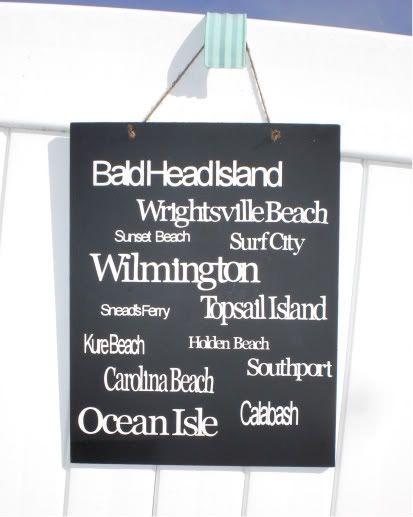
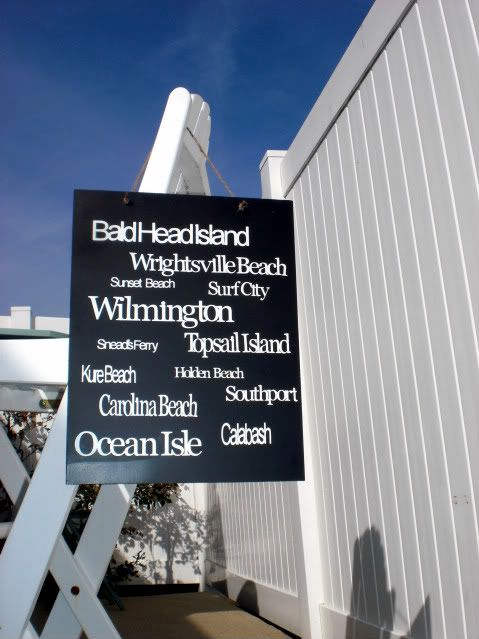
I was in love with it, and brought it home for just $6! Not too bad!!
Except I knew my BFF would be in love with it too, and if she lived any closer- she'd probably steal it!
So, having come off of the success of my last sign, I snapped a pic of this one, returned it, and got cracking on TWO of my own! (One for me, one for the BFF!)
I used the same methods as my last sign, using my Silhouette for the letters, but freehanded the flipflops. I probably could've downloaded a flip flop, but I'm trying my hand at some freehanding (haha) so that I can eventually make signs to sell. All that legal mumbo jumbo on the Silhouette site says you can't use their downloads to sell but only to make things for personal use (or to give away!) See, some of us do read that stuff!!
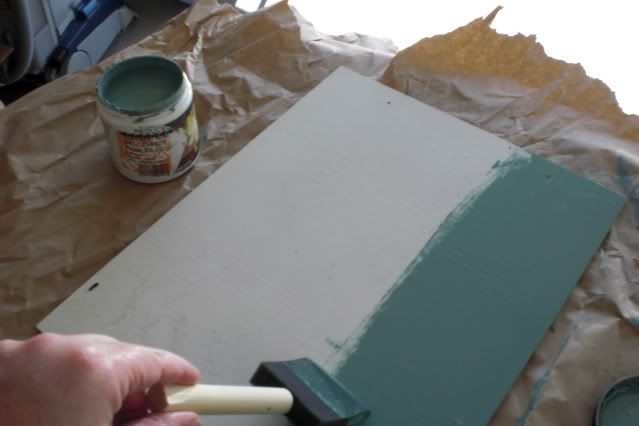
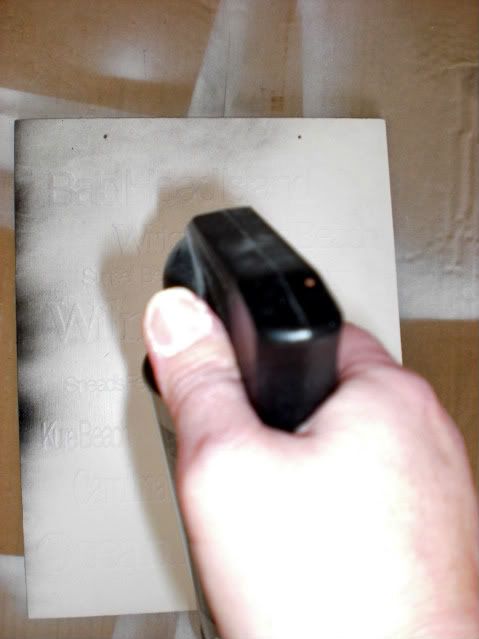
I'd already primed the board and drilled holes to hang when I made the last sign, so I got started painting it with a great teal color (very similar to the original!). I've been having fantastic luck at buying these $.50 little things of oops paint at Home Depot!
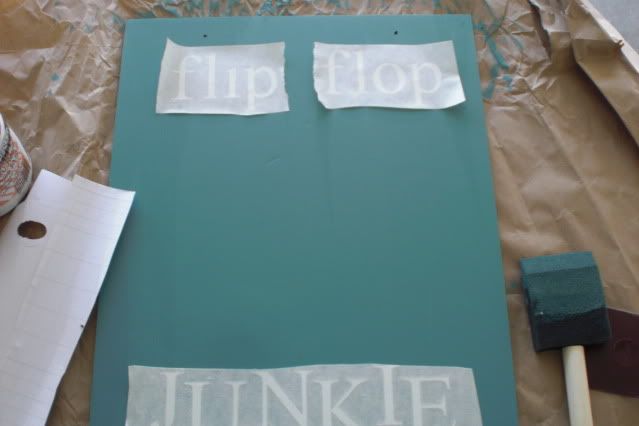
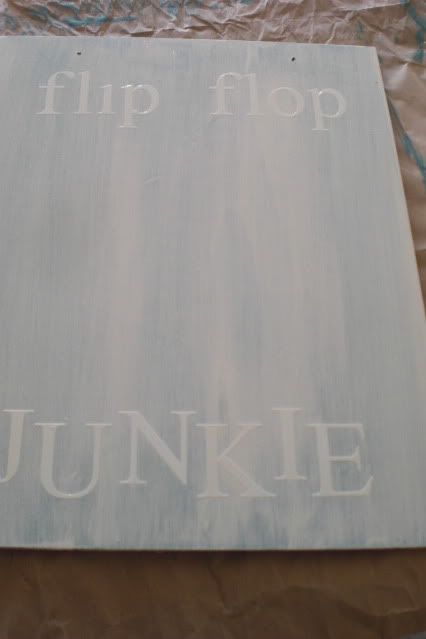
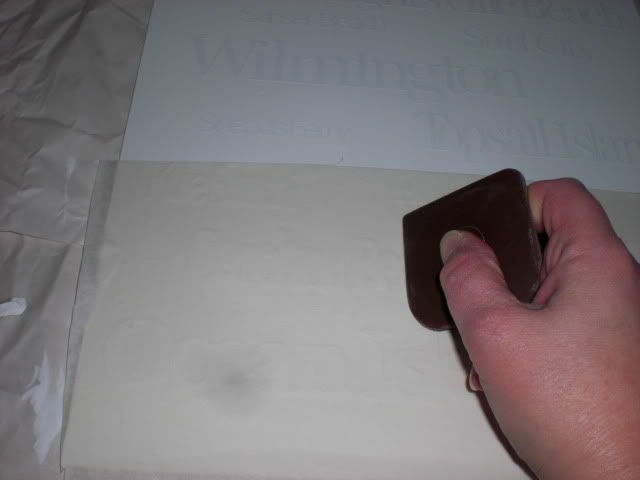
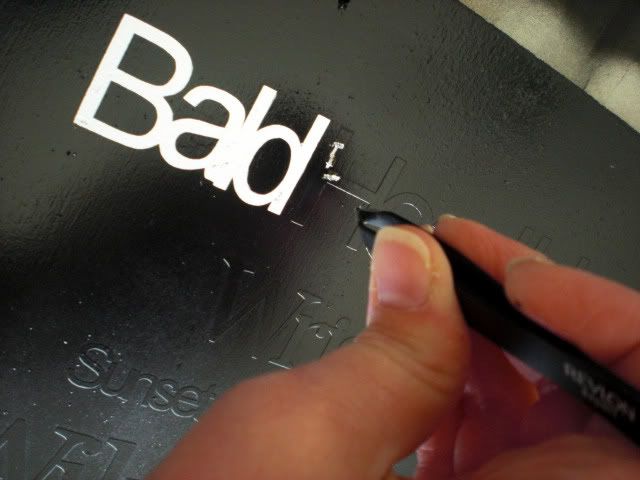
Used the Silhouette to make the words, in vinyl so I can peel off later.....
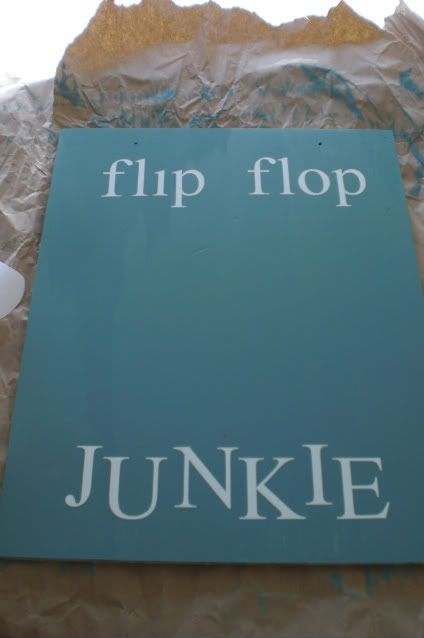
Lightly covered with two coats of a creamy color paint (using what I've got- it's some leftover standard wall paint!). I wanted there to be some brush strokes and for the original color to show through some.
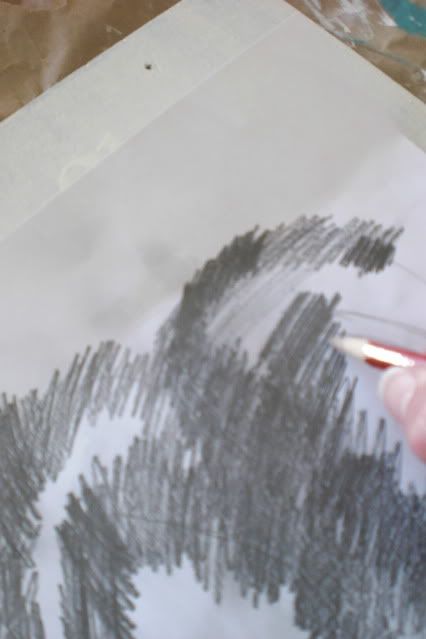
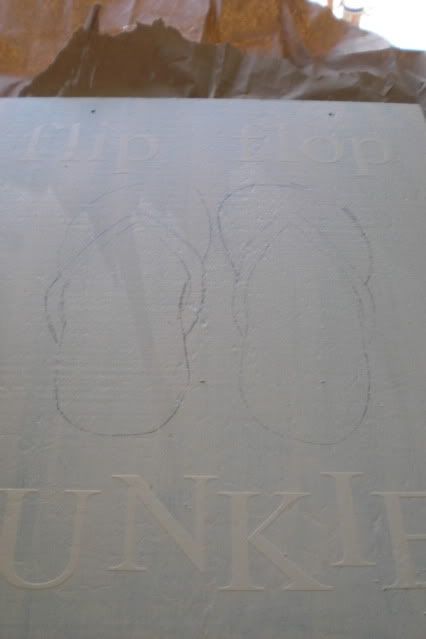
I used the pencil transfer method to get the flip flop outline on the sign- instead of risking messing it up while freehanding on the board. I drew the flip flops, heavily traced it on the other side, and then put the heavily traced side down, and scribbled over the other side, which transfers the heavy line to the board! I even used the same paper again by just tracing a little bit more and scribbling again on the other board!
It leaves a perfect outline that you can paint over!
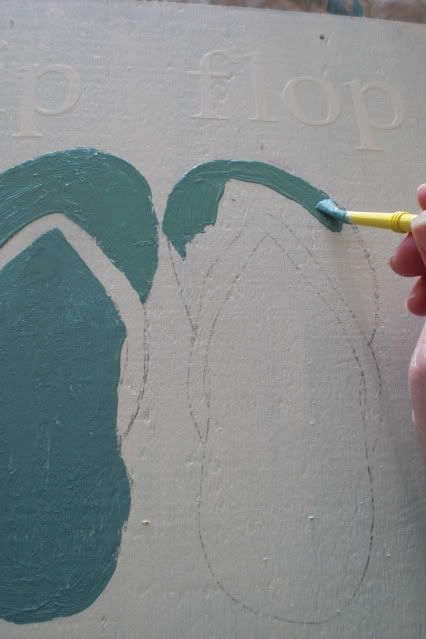
Filled in with the same teal and cream colors
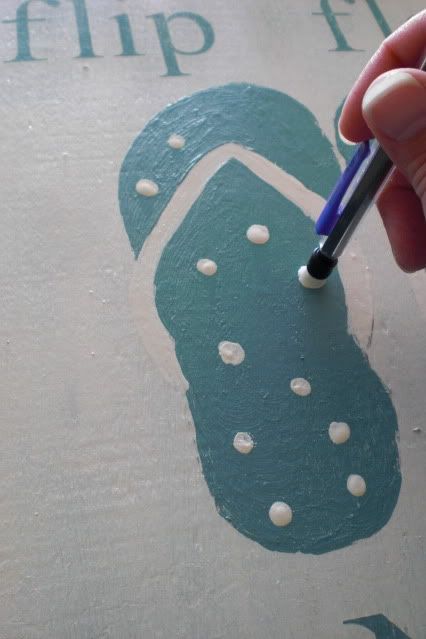
Used a pencil eraser to make polkadots- didn't worry if I left a few blogs cause I was gonna sand it!
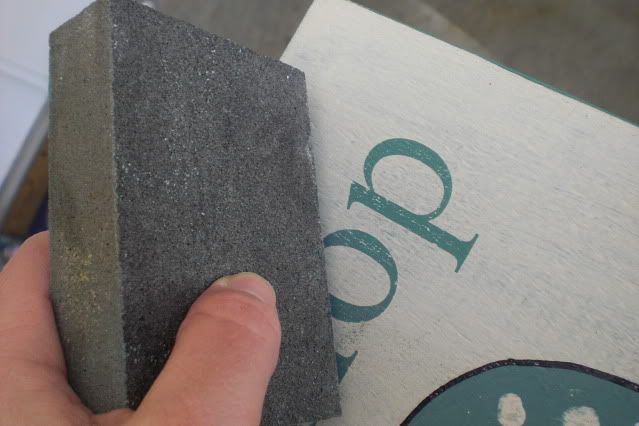
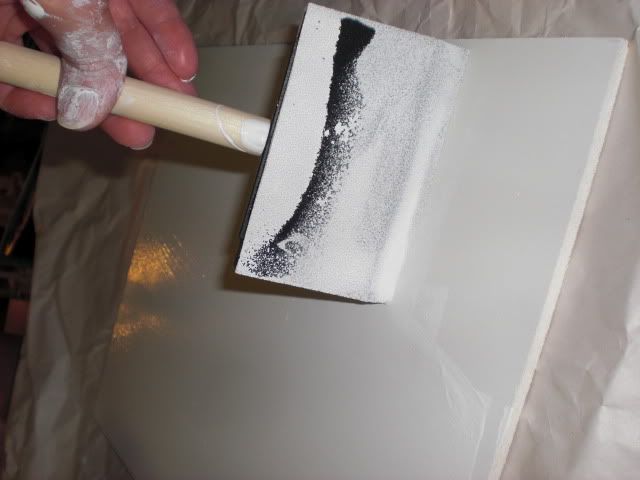
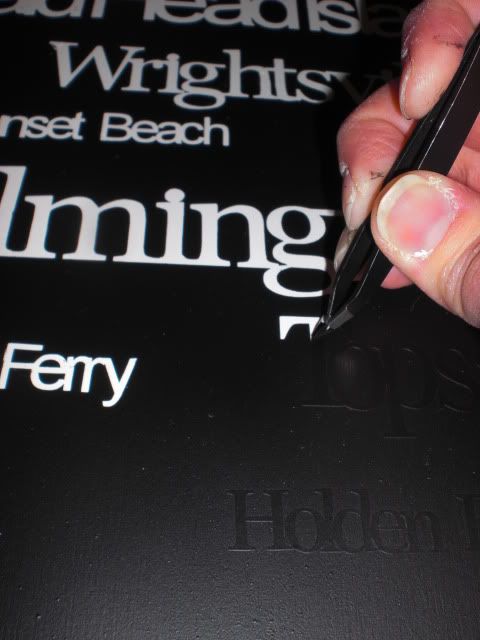
Peeled off the vinyl letters to reveal the teal below, and sanded away!
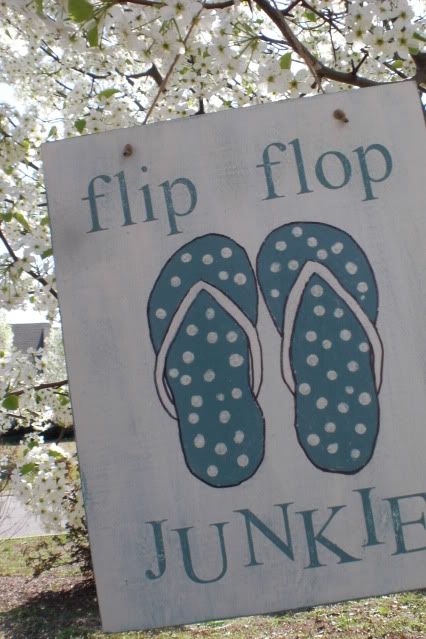
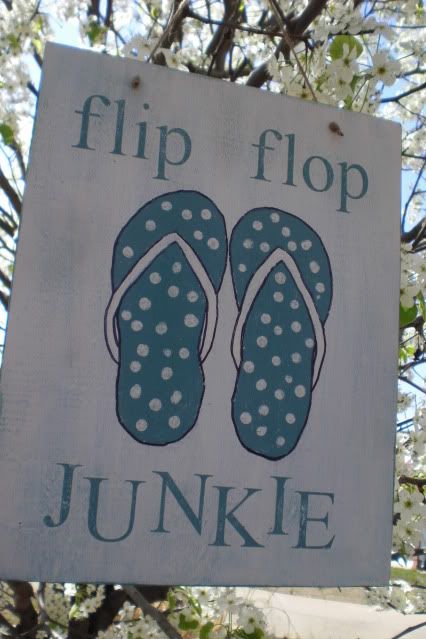
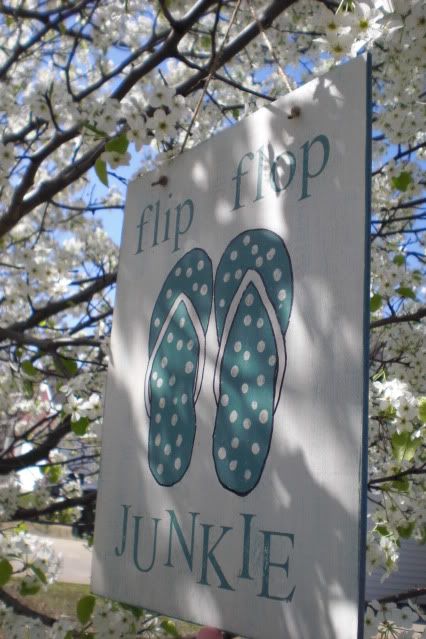
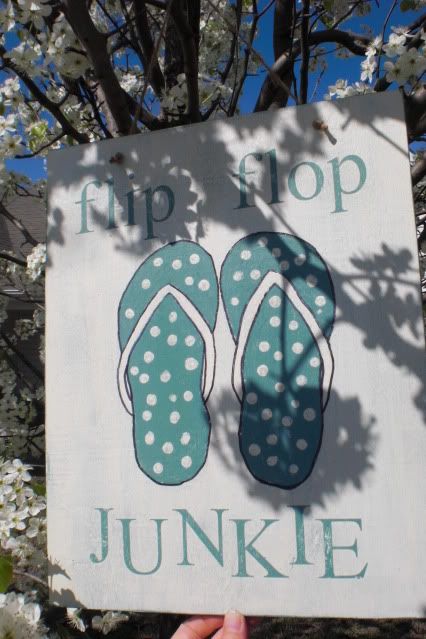
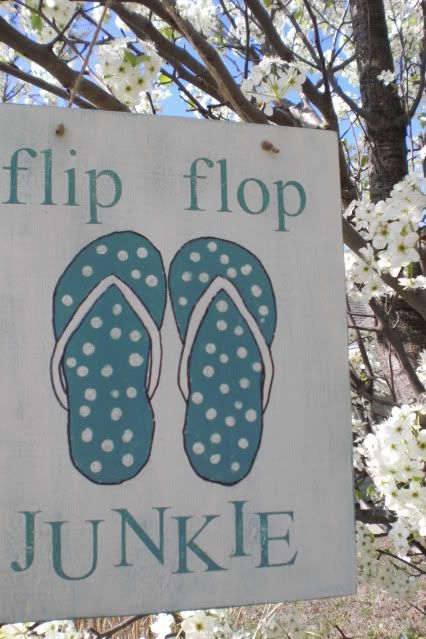
I thought it needed outlining and tried it out with a sharpie....which looks good far away, but bad up close. I bought a paint pen that I'll be reoutlining with (I only did the sharpie on the one, since it was my "test" one I'm keeping for myself!). Except, I can't find that paint pen anywhere, so I'm going ahead with pics like this!! I also strung some jute through the holes to hang it up! Beautiful spring day (that dissappeared behind a few weeks of cold rain now!), hang it up in gorgeous blooming tree (despite the sneezing that you know will ensue!) and snap lots of pics!
Here's hoping that sun that we got a preview of for a few days will return so I can get more sign making done!!
Linking up at some of these parties!
Check out a brand new party here at Cherry Street Cottage!


