Please forgive me for posting some iPhone pics! My camera is broken! Accck!
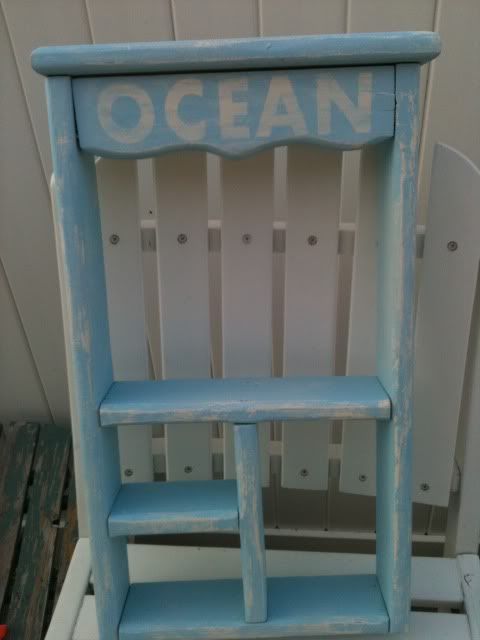
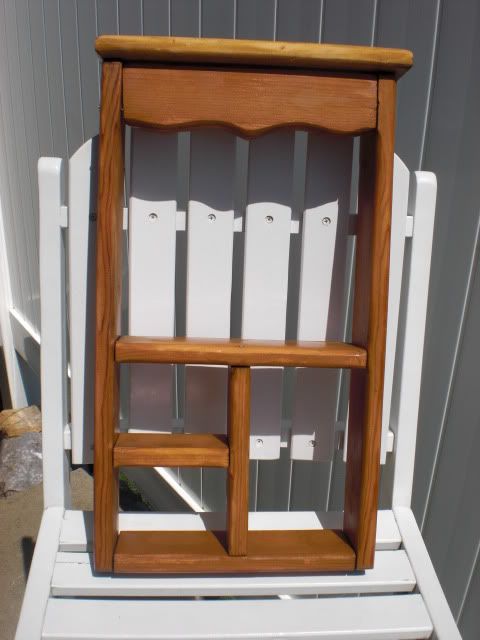
I found this shelf at Goodwill and looked past it's old "country kitchen" appearance to see it for what it could become!
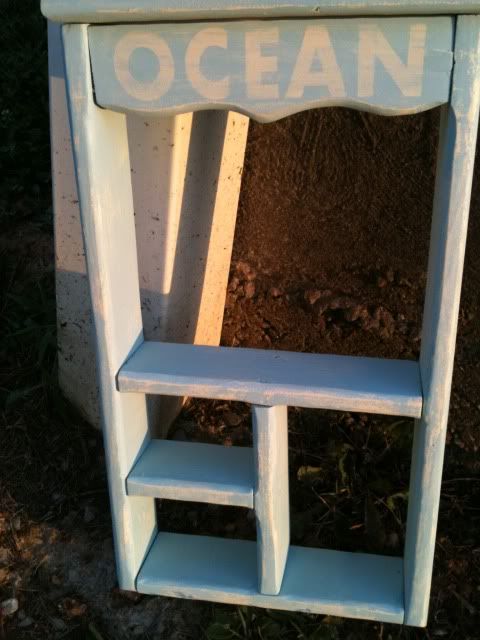
I sprayed it with Heirloom White, then mixed a few differnt blues, watered them down and brushed them on with my Purdy brush!
I left the top part under the shelf blank while I painted the rest and thought of what I should paint there. I thought a word would add a little more interest!
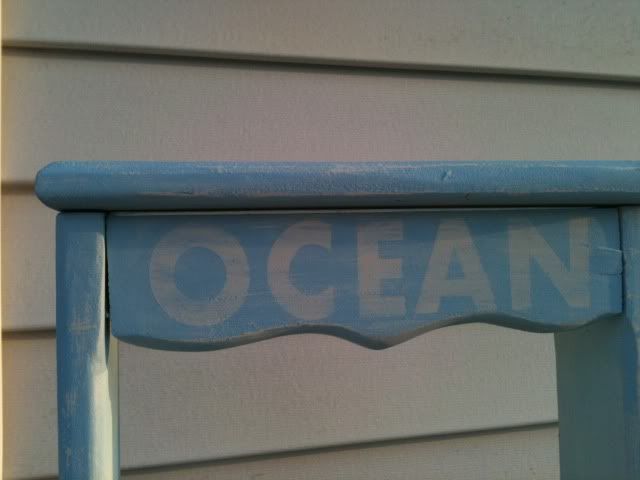
Decided on OCEAN, cut it with my Silhouette, and painted over the letters with the blue after placing them on. Then I peeled off the letters and smeared a slight bit of blue back on top of the letters!
I sanded the whole thing to bring out some of the cream beneath. It was soooo easy to sand since I'd watered down the paint!
I'm loving how it turned out and pretty sure this will go in the guest room. Got company coming in a week and hoping to have it a little more fixed up by then!
Linking up...
Thrifty Decor Chick's Before and After
Monday, July 11, 2011
Sunday, July 10, 2011
Beach and Lake Signs
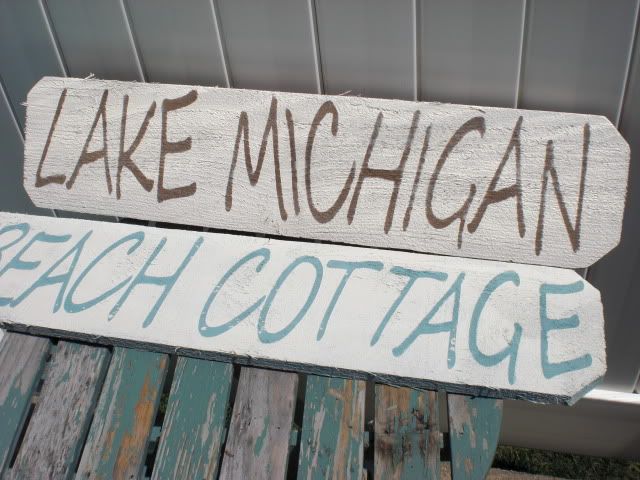
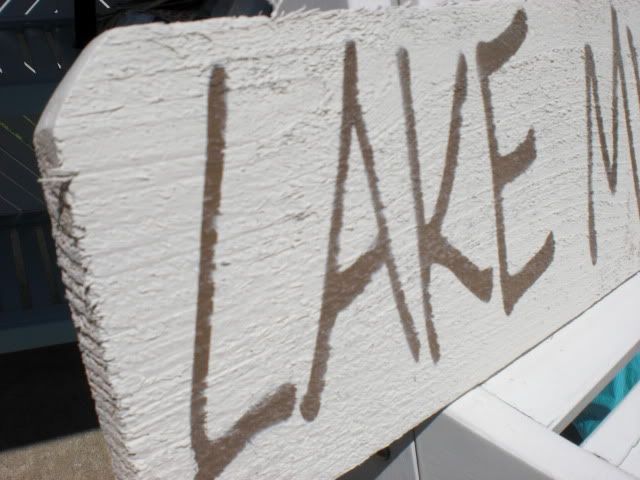
I found these rough fence posts at Home Depot, that I thought would make great signs!
I had them cut each into three pieces and the top boards had a point. I sanded down one board to make both sides pointy but it was too much work to do it again! (Yeah, I need to get a saw!)
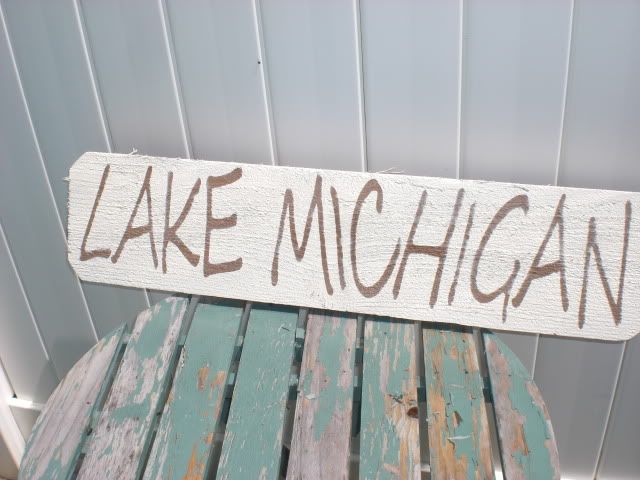
I made the Lake Michigan one for my sis-in-law's bday. She grew up on Lake Michigan, but now lives close to me in Nashville with my bro and their fam!
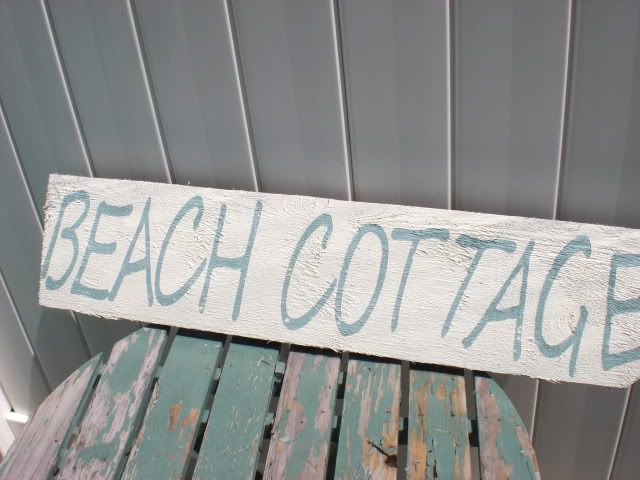
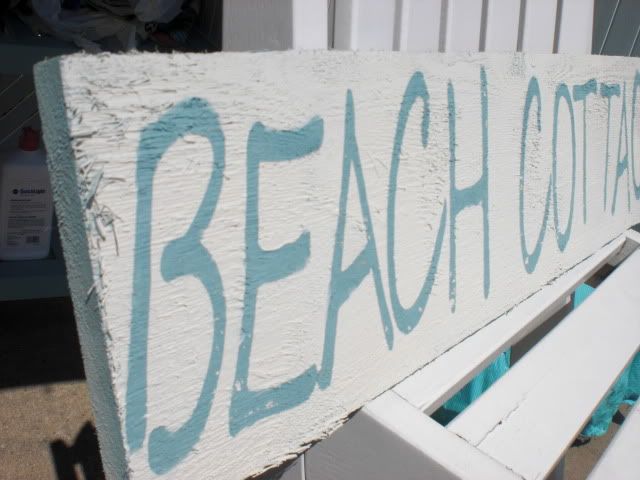
The Beach Cottage one was for me..........
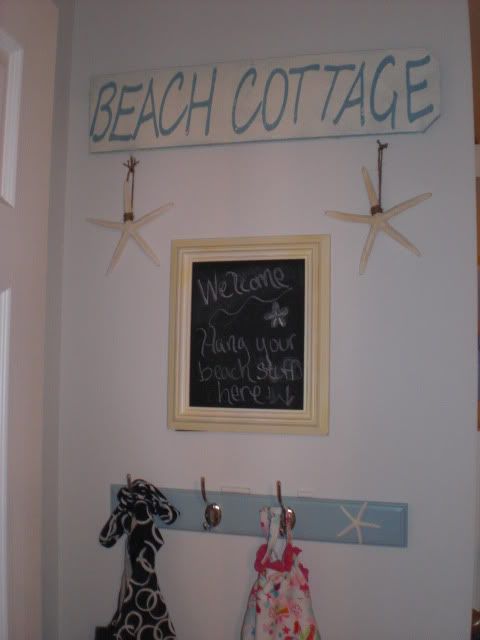
I immediately hung it in the guest room!
It was the perfect completion to the doorway, along with my hanging starfish and jute, DIYed chalkboard and a clearanced rack that was missing a hook, which I simply replaced with a starfish! It's right by the laundry, so I hang up our swimsuits to dry there!
I love the rough splintery-ness of the wood!
Quick rundown of how I made them (I love learning new methods of painting signs so leave me any links in comments if you've made any different ways!)
I'm usually hanging out at these parties........
I had them cut each into three pieces and the top boards had a point. I sanded down one board to make both sides pointy but it was too much work to do it again! (Yeah, I need to get a saw!)
I made the Lake Michigan one for my sis-in-law's bday. She grew up on Lake Michigan, but now lives close to me in Nashville with my bro and their fam!
The Beach Cottage one was for me..........
I immediately hung it in the guest room!
It was the perfect completion to the doorway, along with my hanging starfish and jute, DIYed chalkboard and a clearanced rack that was missing a hook, which I simply replaced with a starfish! It's right by the laundry, so I hang up our swimsuits to dry there!
I love the rough splintery-ness of the wood!
Quick rundown of how I made them (I love learning new methods of painting signs so leave me any links in comments if you've made any different ways!)
- Sprayed each board with the color I wanted the letters to be
- Cut out the letters on contact paper with my Silhouette
- Pressed the letters FIRMLY onto the boards. (a little hard to do since they are so rough, I used one of those Pampered Chef Scrapers!
- Sprayed again over letters with the color I wanted the letters to seal it a bit.
- Sprayed over the letters again with the main color of the board (Heirloom White for both!)
- Peeled letters off!
I'm usually hanging out at these parties........
Subscribe to:
Posts (Atom)