Monday, February 7, 2011

Burp Cloths

I've been wanting to try my hand at these for awhile. They seemed like a pretty easy project since I am not great at sewing!

They weren't hard at all- just took some time since I kept breaking my thread over the bulky part of the cloths!

I used this tutorial here at Sew She Sews. It was suuuper easy to follow! It was basically like sewing a pillow, and I can totally do that!!

I did not sew around the edges (except to close up the hole!), mostly because I was running out of time to give these to a very good friend for her baby shower!

I also did not use flannel. I used mostly Amy Butler, Midwest Modern material since I knew my friend liked it! Flannel is a GREAT idea, but I traded babysitting for this material! I also got the cloth diapers at Target (buy the 12 pack if you plan on making lots- works out much cheaper!)

Sorry for the bad pics, I only had time to snap with my cell phone! I'll hopefully take better pics of the next set that I'm making for another friend- this one a boy!!


Photobucket


Photobucket


There are lots of tutorials for this type of this, but you should really check this one out! After seeing this one I KNEW I could do it!

Go see Sew She Sews!


Linking up here!


handmade projects

Thursday, February 3, 2011

Shabby Heart Wreath

**If you read this earlier, I updated a little bit adding some pink ribbon and cutting off one of the ends of the blue- just wasn't workin for me, but now it is!**
I wasn't planning to make a Valentine Wreath. I did sorta look around for a cheap heart wreath frame when I've been shopping lately, but never came across anyting I wanted to spend my $$ on!

Then while I was working on my Dollar Tree Rose Makeover last night, I was thinking about a wreath and thought- "What if I could make one with a wire hanger, and just cover it with material or something?"

I'm all about using what I have on hand lately! We're working on paying off a mountain of debt, so gotta save those pennies!!

So, I grabbed a wire hanger and a torn up old white sheet that I've already used other parts of for lots of other projects and went to work.

This is what I came up with!

Photobucket


It's on my dining room wall, which you've seen before! I just removed the pic in the middle! Not showing yet what is on the shelf and buffet underneath- still workin on it, but it will include my Dollar Tree Rose Makeover!

Photobucket

(This was before I added the pink
and realized how annoying that long blue ribbon on the right is!)

I made a rosette with some jute twine and hot glue, added some ribbons leftover from wedding projects (yeah, I use a lot of stuff from my wedding to decorate still!), and put a white pearl pin through it to secure it to the fabric.

Photobucket

Ummm, ignore that lil hole that the picture frame I removed usually covers and just look at my pretty twine rosette! You can also see I didn't bother to unwrinkle where the ribbon was once tied around something- I rather like wrinkles!

Photobucket


Photobucket


I'm glad I added in the pink! I made it to be pretty rough and random- there was no pattern to how I wrapped the fabric around it except for making sure some of the raw edges and unravelling strings would show! I like the look it gives, plus it matches my table runner!


Linked up at:

Pink & Polkadot


Tatertots & Jello


HouseofHepworths


handmade projects

Tuesday, February 1, 2011

Dollar Tree Roses

I'm working on an aqua, light pink and white Valentine's vignette. I don't normally decorate for Valentine's Day, and I wasn't planning to this year. But reading blogs....I got the bug!

Here's what I'm currently working on (and have the hot glue bits stuck to my fingernails to prove it!)

I'm making over these blah Dollar Tree Roses. Here's the white ones I've yet to re-do.

Photobucket


The flower itself is really pretty, but the leaves are just iiiiickkkk! Trust me, they look worse in person than in this photo. Plus they are tissue papery, and they were so awful, I almost walked right by them. Then, I tugged at one and realized it could come off and one pink and one white bouquet hopped into my cart!

The petals are kind of foamy and lightweight and have shiny glitter on them- not realistic, but pretty!

Here's the pink bouquet made over:

Photobucket


I used my Silhouette to make the leaves (with a leaf shape included already!) out of cardstock, small ones for around the rose and bigger ones for the leaves on the stems. The leaves I took off did leave some nasty bright green spots around the roses I had to cover up, plus the flowers now looked nekkid!

Then I wrapped some jute twine around the stems to add some texture!
I simply used hot glue to keep it all in place! They're a bit messy, but only I can tell!

Photobucket


Again, not realistic looking, but that's not what I was going for! Plus I can use these for years to come!

Cost- $2! I had all the supplies on hand except the actual roses! Glad I got the pink ones when I did, because I couldn't find any pink the next time I went!

Off to go rip the nasty leaves and re-do the white ones!
Hopefully in the next day or two I'll have my Valentine's vignette fixed up so you can see how I use these pretty babies!


Show and Tell Green


Snowflakes and Starfish

Although I'm currently updating my dining room for V-day, I wanted to share this sign I made to go with my theme of snowflakes and starfish!

I happily left out some of my Christmas decor that was more "wintery" to create a winter tablescape and a few vingettes.

We visited Tybee Island in GA over New Year's and I snagged some pieces of palm trees laying on the ground that looked sort of like driftwood. (I did snag one tiny piece of driftwood that I have plans for!)

I broke in my brand new Silhouette from SANTA for this project! Easy Peasy!


Photobucket


I wanted to figure out how to stencil it on with paint so I could distress it a little, but I haven't gotten that far in figuring out how to use my Silhouette! Anyone know the best way to make a stencil with it?


I displayed it on the top of my hutch:


Photobucket


Photobucket


And here's how it matches the rest of my dining room decor!


Photobucket

Used the same centerpieces as my Christmas tablescape- just took out the ornaments and added the piece of fleece on top of the runner to make it a little "cozier!"

The dishes are my wedding china, along with new snowflake bowls from Target Christmas clearance ($4 for all 4, I think?), and the mugs are Walmart clearance- $2.25 for 12!!! I needed a big set of matching mugs over Christmas- found these just a little too late!


Photobucket


Photobucket


Used several of the same things I used for Christmas on my sideboard too. The "snow" is also an after Christmas clearance find, and I made the rosettes out of fleece to "warm" up the candles too.


Photobucket


I absolutely looooove the look of the snowflakes and starfish together!!


Linking up to:


My Uncommon Slice of Suburbia


Tute yourself tuesday red and white

handmade projects

Wednesday, January 5, 2011

Raspberry Cordial Gifts

I found this idea for making Raspberry Cordial awhile back at My Shabby Chateau. Think I came across it through a linky party, and pretty sure I clicked over because of the blue canning jar I'm coveting!


My Shabby Chateau


I love raspberries and Anne of Green Gables. Remember when she gets Diane drunk on what she thinks is Raspberry Cordial? (So, I'm not really sure what kind of raspberry cordial that was supposed to be, cause a bunch of this will get you drunk too!)

I had some vodka laying around that I figured needed using up!!

I don't have any pretty jars (hoping to soon remedy that!), so I used the vodka bottle and an empty Patron bottle to make this. I ended up having to throw it all in the blender in order to get it in the bottles, so my way isn't as easy or as pretty as Donna's! Do it her way, not mine!
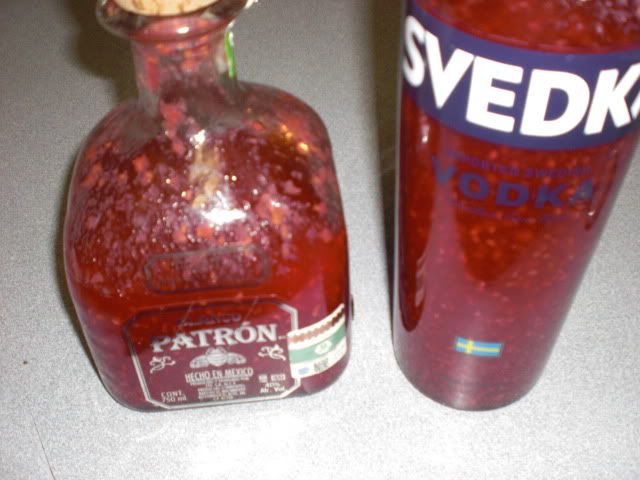


Photobucket

In the process of making it....


It takes 2 weeks to make (gotta let the raspberries soak in all the yummy vodka!), so this is NOT a last minute gift!

I have the world's tiniest strainer, so it took awhile for me to strain all the seeds out at the end of 2 weeks! *Note to self* buy a new strainer before you attempt this again!!

Since I was giving these as gifts to my friends at our Girls' Christmas Night, I wanted to package them up nice!
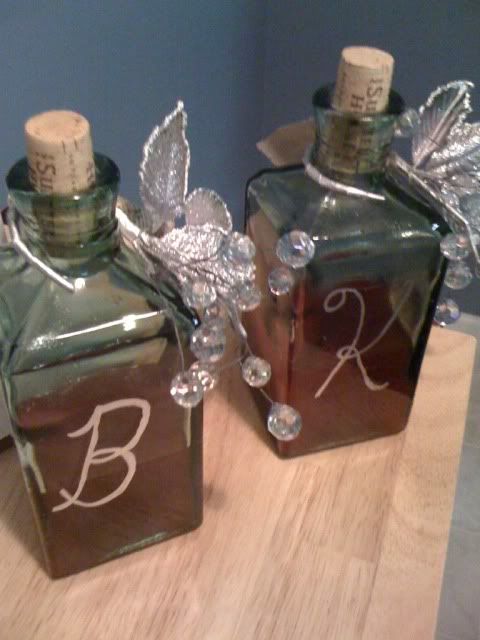

Photobucket


I went to my fave antique store- The Rooster in Nolensville, TN and found these pretty bottles. (The shop owner wasn't sure if they were vintage or reproductions. At $5 a piece, I didn't really care!)

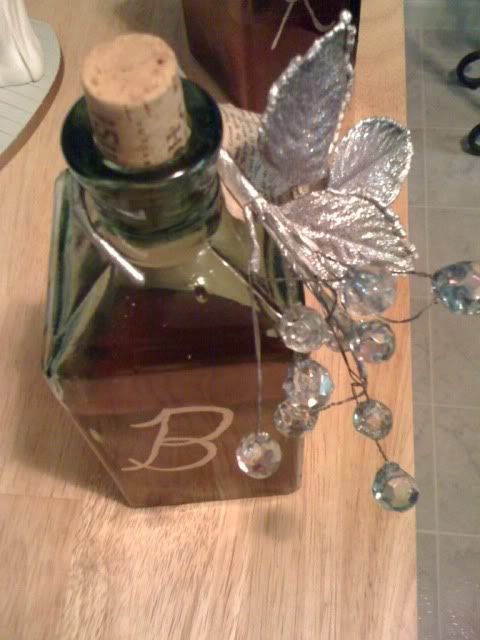
I found the silvery picks at Three French Hens (another fave) next door to The Rooster and wrapped them around the bottle necks. They looked vintagey, didn't ask if they were or not!


Photobucket


I wrote their initials with a silver paint pen, and it can easily be wiped off.

Corks came with the bottles, but the shop owner had to break one to pry it out in making sure that it could come out, and I wanted them to look a little "prettier." I used some wine corks I had saved from bottles of wine- which I probably had drank with these friends!

Photobucket


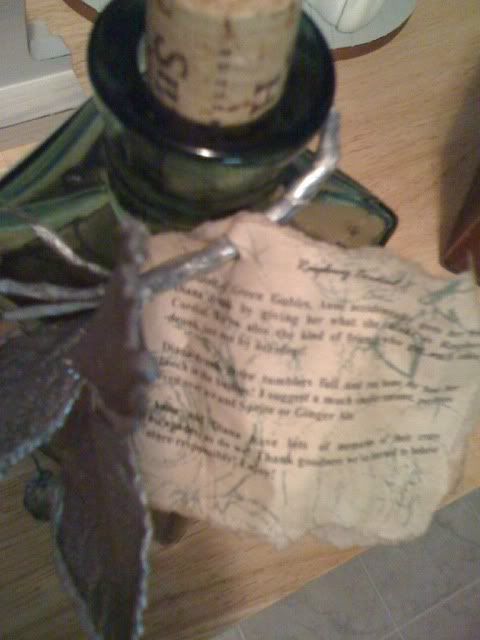
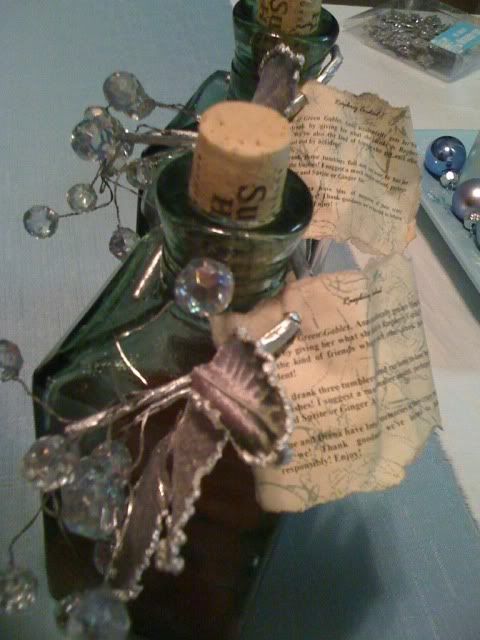
I also made a tag for each one- I used a cream color scrapbook paper with greenish roses, and printed the following on it:


Raspberry Cordial

In Anne of Green Gables, Anne accidentally gets her friend Diana drunk by giving her what she thinks is Raspberry Cordial. We’re also the kind of friends who get each other drunk, just not by accident!

Diana drank three tumblers full and ran home to lose her lunch in the bushes! I suggest a much smaller amount, perhaps even over ice and Sprite or Ginger Ale.


Anne and Diana have lots of memories of their crazy escapades, as do we! Thank goodness we’ve learned to behave more responsibly! Enjoy!


Photobucket


The two friends I gave this two are the friends I have had my wildest escapades with over the past 21 years (since jr. high!) But those wild escapades were in our younger days, ok??! Haha! In fact, this gift inspired us to reminisce about some of those escapades, but not because of it's "influence!" We only had a little taste- cause we're much more "grown up" now!

(PS. I don't mind if you copy this tag idea- but it'd be nice if you'd blog about it and link up to me AND give credit to My Shabby Chateau for the recipe idea!)

I hastily snapped the pics with my cell phone, so that's why you can't read it! Also because I made it super small so that the tag wouldn't end up huge!

I ripped the scrapbook paper to give the tags worn edges, and then went over both sides lightly with some Ralph Lauren glaze. You could easily tea/coffee stain these too. I also bent and crumpled it some to give it an old look to go along with the rest of the "old" stuff!


Photobucket


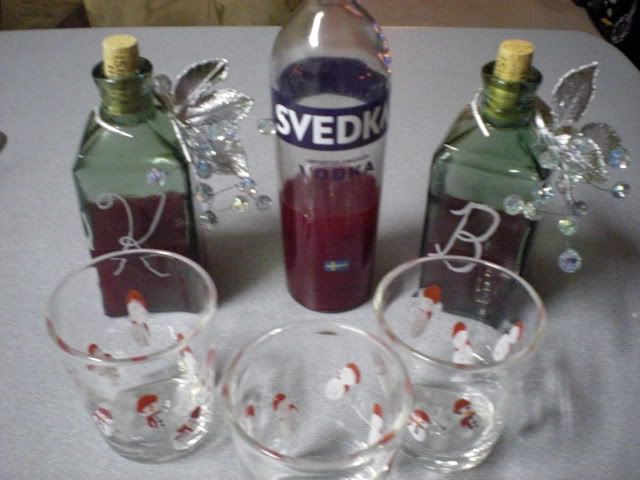
Set them up on the counter along with some glasses for tasting. We used the syrup from the original bottle to taste, and I sent them home with the others. The snowman tumblers were a gift from a student (who made them!!) several years ago.

We tried it straight up- good but too strong to drink much! We looooved it with Sprite over ice! I only filled their bottles half way because a little goes a long way! Didn't want it to go to waste- and also I wanted to keep some!

Since I'm writing about this after Christmas (call me a slacker, please!), you could package them up all Valentiney with red and pink and pass them out to friends, single or otherwise! (See, I'm ahead of the game for Valentine's Day since these need to be made 2 weeks in advance!) It does turn out a pretty red color- just looks darker since my bottles are green!

I will definitely make this again! Hmmmm, maybe for Valentine's Day?!
Check out all these fantastic linky parties from the following fantastic ladies!




My Uncommon Slice of Suburbia


Tatertots & Jello



HookingupwithHoH

Christmas Tablescape

I had two of my closest friends since jr. high/highschool over for our yearly Girls' Christmas Night two weeks before Christmas.

While it was mostly about the "aunties" oooohing and ahhhhing over Baby Girl, I did find the time to get the table looking pretty- even if Baby Girl did spend most of dinner sleeping in my arms!


Photobucket


I used an old white sheet that I actually swiped from one of said friend's yard sales as a table runner. Just snipped the ends, then ripped it to create that rough edge. I left it all wrinkly on purpose for 2 reasons- I liked the look, and I HATE to iron. I pull my ironing board out maybe once a year- and even then it's usually to do a project like ironing on a decal to a shirt or something! (The dryer is my wrinkly clothes bff!)

Candles- from my wedding
Snowflake plates on runner- Target clearance a few years ago
Ornaments- also Target clearance
Shells- beaches over the years!
Bowl- wedding gift (not something I registered for- love when ppl know me so well!)
China- wedding china (read more here!)
Napkins- Peir 1 clearance from my mom
Napkin rings- beads I cut down and tied on from Target clearance garland I used to use on my tree
Snowflake goblets- $1 at Kroger (they had these again this year, but I had enough!)
Tablecloth- hand-me-down from mom


Photobucket

With candles lit


Photobucket

Candles lit, lights dimmed!
Everything in the center stayed on after the dinner throughout Christmas. I'm also using most of this in my winter tablescape I'll show you later! (minus ornaments, of course!!)

Catching up on Christmas!

I'm so behind on Christmas blogging since I had 20+ people in my house over the holidays, then went out of town over New Years!! I've still got some things I want to post- mostly for my own record! I've got some of my own things I want to write about and some projects I want to post about so I know where to find them to do for next year!!

So please excuse the "outdated" posts for a bit! :)

Merry Christmas! (haha!)