One last Valentine project to share, then I'll reveal it all put together!
Although I didn't think I was going to do any Valentine decorating, I'm really glad I did, and love how it all came together!
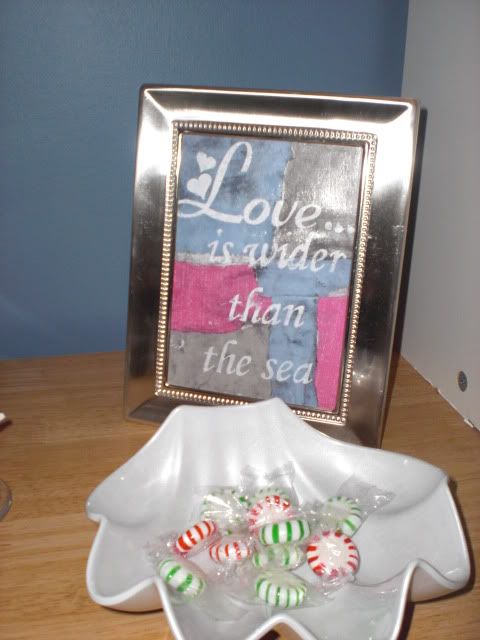
I wanted to make some cute love sayings to frame, and knew what I wanted to say, but wasn't sure how I was going to do it! I also have no idea what to actually call this project- so I'm calling it my "Framed Art!"
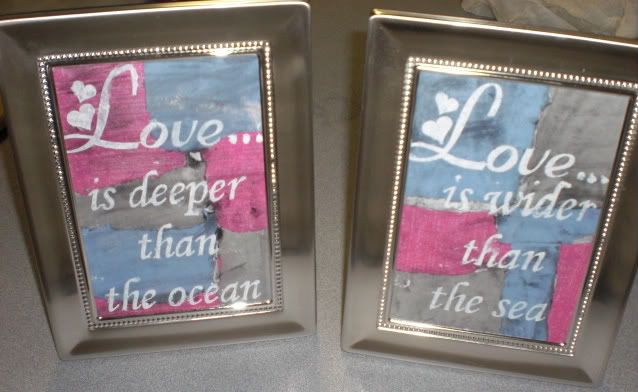
I started off by using my Silhouette to cut out "Love is deeper than the ocean" and "Love is wider than the sea" using vinyl. Had to make them a beachy theme to get them to fit in my decor!
I thought about just putting it on black cardstock, putting it in a frame and calling it a day but got more creative!
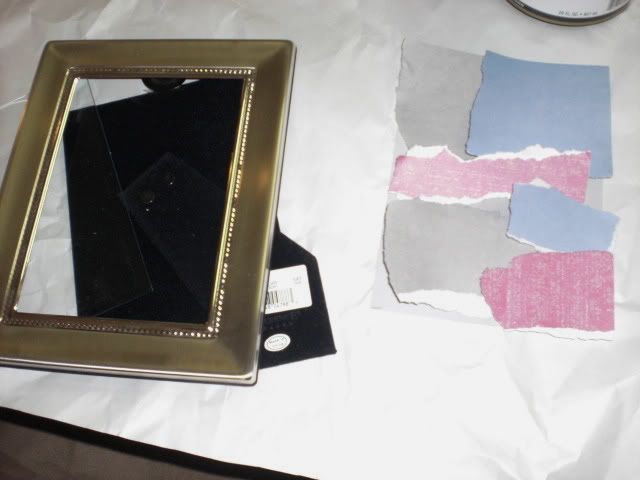
I had two pretty silver frames that were wedding gifts I've never used! I took the insert and ripped pieces of coordinating scrapbook paper too cover it!
I glued on the paper with a glue stick, then trimmed the edges
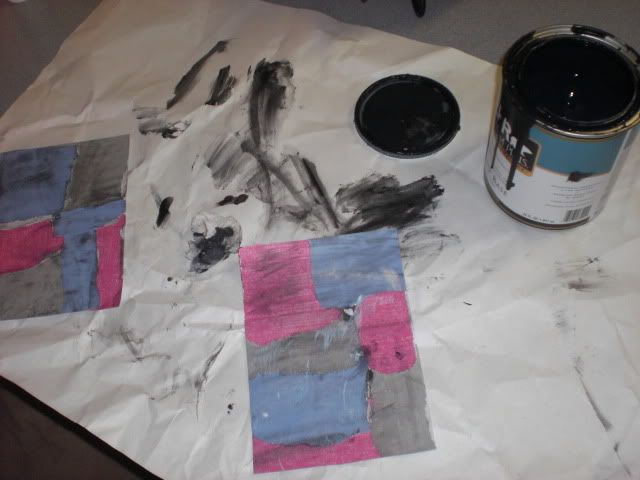
I almost left it at that, but decided to dirty it up a bit by rubbing some watered down black paint. Black stain would be a lot better- but I used what I had! I do have brown stain but didn't want that look for this project!
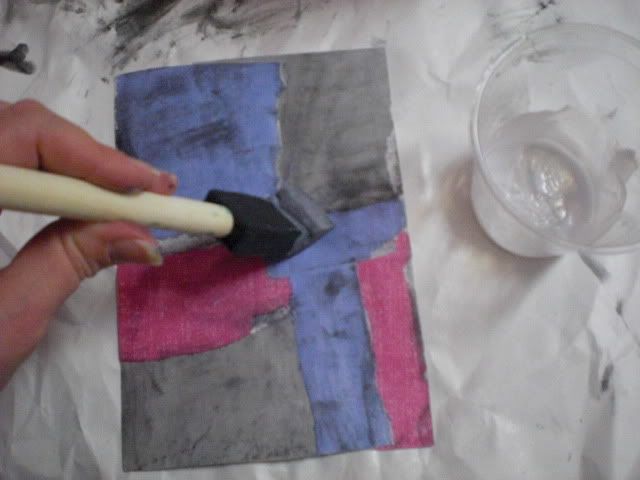
I made a mess, as you can tell! I used a wet paper towel and just went nuts dipping back and forth between the paint and a cup of water wiping off a lot of excess. My fingers were a disaster!
Then I modge-podged the whole thing.
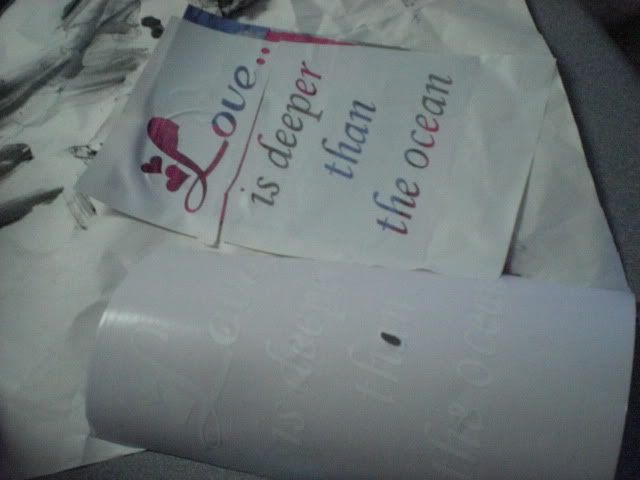
I took my vinyl letters from the Silhouette and started to pull off the excess- noticed it made a better stencil and the letters left behind were slipping all over (although I adore the Silhouette, I think the cricut vinyl actually works better, and you can buy it in craft stores! Sorry, Silhouette! I still want you over the cricut itself anyday!)
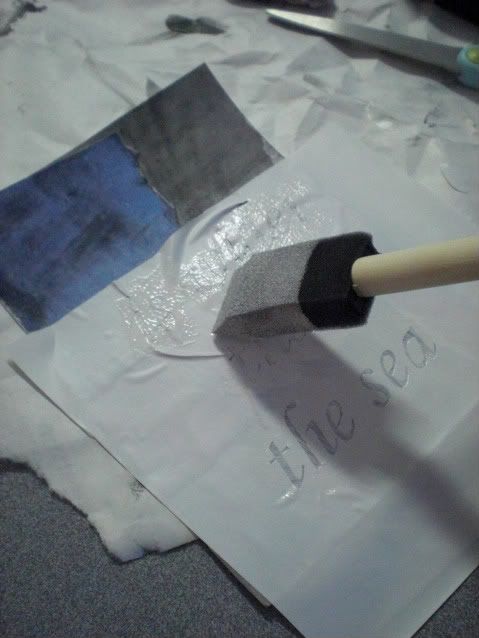
So I used the vinyl as a stencil instead, and stuck it on the modge-podged paper to paint! I really think this helped create more of the look I was going for- messy, instead of clean and crisp! And I still have the letters (although several are askew!) in case I want to use them for another project!
I simply used white wall paint since it's what I had on hand to stencil on the letters, and I removed the stencils almost immediately!
Because I had modge-podged FIRST, the vinyl peeled right off! I think it would have stuck if I hadn't created that slick barrier first! I wiped up any mistakes quickly- with my fingernail, but you'd probably be smarter to use a q-tip or small brush! And I corrected a few parts I'd messed up- like you can see on the top one I messed up the L- that was actually before I decided to use it as a stencil so I wasn't careful!
I modge-podged again to seal the paint.
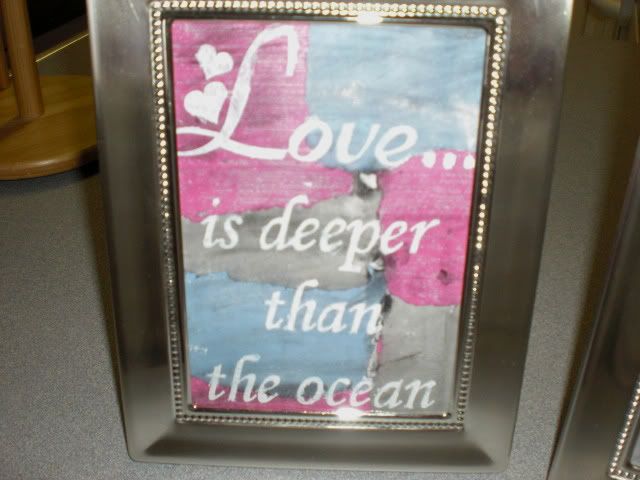
Put it in the frames- minus the glass to keep it from being shiny, and there you go! FREE Valentine art! The letters were the hardest part, and it wasn't that hard! Got it all done during Baby Girl's nap!
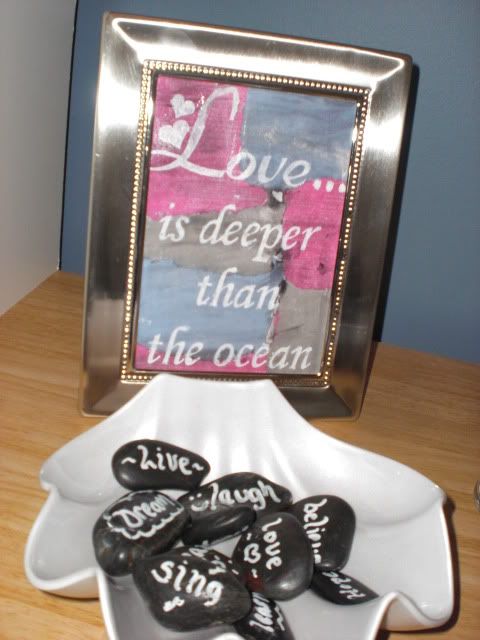
Here's where they found their home on my hutch (ignore the leftover Christmas candy which will be replaced by Valentine candy or maybe some more wishing rocks!)
Soon you'll see how they fit in the rest of my Valentine decor!




That's a neat Idea. I've been making stencils by hand with my handy x-acto knife for a different project, I'll bet it would work for this too. Such a cute idea.
ReplyDelete