

This is part of my 31 day series on making wood signs. To see the other ways we've discussed making signs already, visit the 31 day introduction page.
Today, I'm going to discuss making signs using transfers. There are a few different ways to do this, but I have only tried one method, so I'm going to direct you to a few other tutorials so you can get the best idea of how to do signs this way!
Transfers work well when you are doing a more complicated project, that you don't want to spend the time creating a stencil on.
Pencil Transfer Method
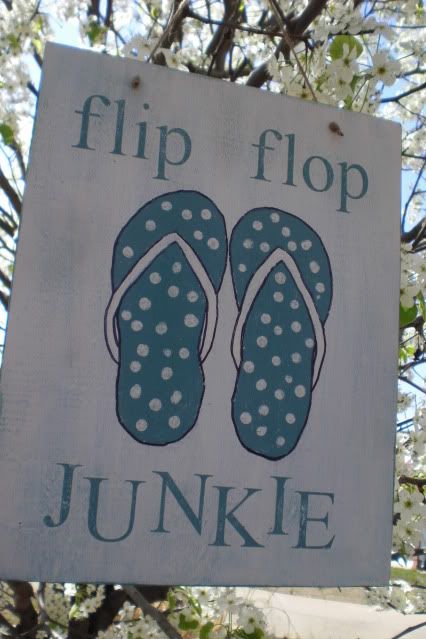
I made the flip flop design on this sign by using a pencil transfer method. (Go here to see my original post on this sign!)
I didn't take pictures of the whole process, so I'll see if I can explain!
- Print out the words or graphic you want on your sign or hand sketch your design. In this case I hand sketched them (tracing a girl's size flip flop to get a good shape), because I didn't want to mess up the sign with lots of pencil and erase marks!
- Trace over the design (printed or sketched) several times, really hard with a pencil (you'll probably want an actual pencil, not a mechanical one to get a good thick line.
- Flip the paper over, and lay the traced side down onto your sign.
- Using your pencil again, rub over the entire design and it will transfer the pencil from the other side onto your design.
- Fill in the lines with paint.
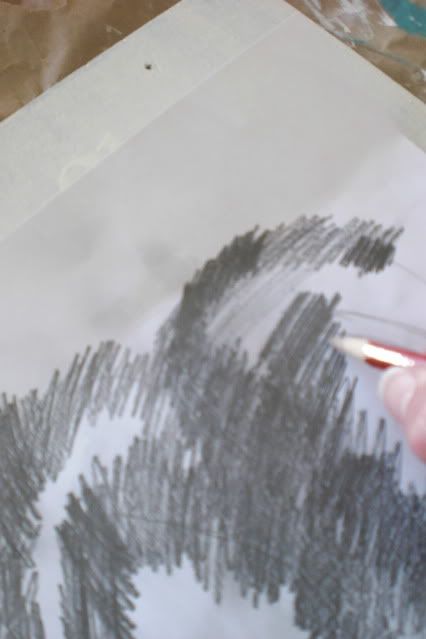
Rubbing over the transfer with pencil
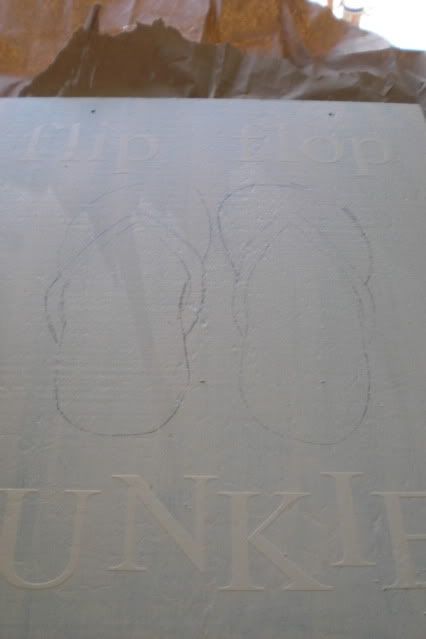
Look closely and you can see the faint lines that were left from the transfer
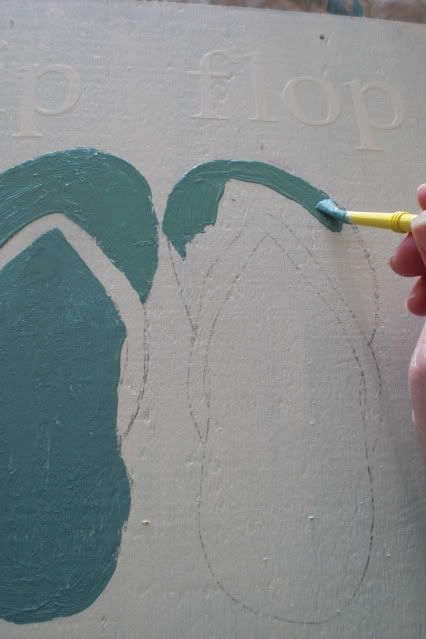
Paint to fill in your design
Carbon Paper Transfer Method
Gina at The Shabby Creek Cottage is the queen of this method! I'm going to send you over to her for detailed instructions but it's sort of on the same lines as above, without having to do the scribbling.
- Print out your design on the computer.
- Place a piece of carbon paper on your sign and your printed design on top.
- Trace over your printed design with something with a sharp point. You could use a pen or pencil. Gina used her daughters DS stylus! Genius!
- Remove the paper and carbon paper and your design should now be on your sign.
- Paint in the lines to complete your design. (Gina also has a great tutorial on how to more easily fill in your letters/design)
Technically this tutorial is for a stool, but it's exactly the same as if you were doing on a sign

Wax Paper Transfer Method
This method requires an ink jet printer, and I've been waiting to purchase ink to try it out! I have a laser printer that I use on a normal basis because the ink is cheaper. The reason you need an ink jet printer is because the ink is more transferable with this printing method.
Basically with the wax paper transfer method, you print in REVERSE on wax paper, flip over the design and use something to rub the design off of the paper onto your sign.
This method will probably not leave you with a perfect design, but that's the style now! Imperfect and distressed!
Check out Unexpected Elegance's instructions on how to use this method. She does a great job of explaining the process- even though she does her's on a pizza peel, the same method can be applied to wood signs!
Hopefully you are getting some great ideas so far to make your own signs!
Go to my 31 day series homepage to see all the posts on sign making (updated each day new posts are added!).
Or check out what we've discussed so far!
I sometimes link up to these lovely ladies' parties:


No comments:
Post a Comment
Let me know what you think!!! I'd really love your comments!! Thanks for visiting me!!